Hansgrohe Bathroom Faucet Repair Manual: A Comprehensive Guide
This manual provides detailed instructions for repairing your Hansgrohe bathroom faucet‚ covering removal‚ installation‚ and fixes for common issues like leaks and low pressure.
Understanding Hansgrohe Faucet Types
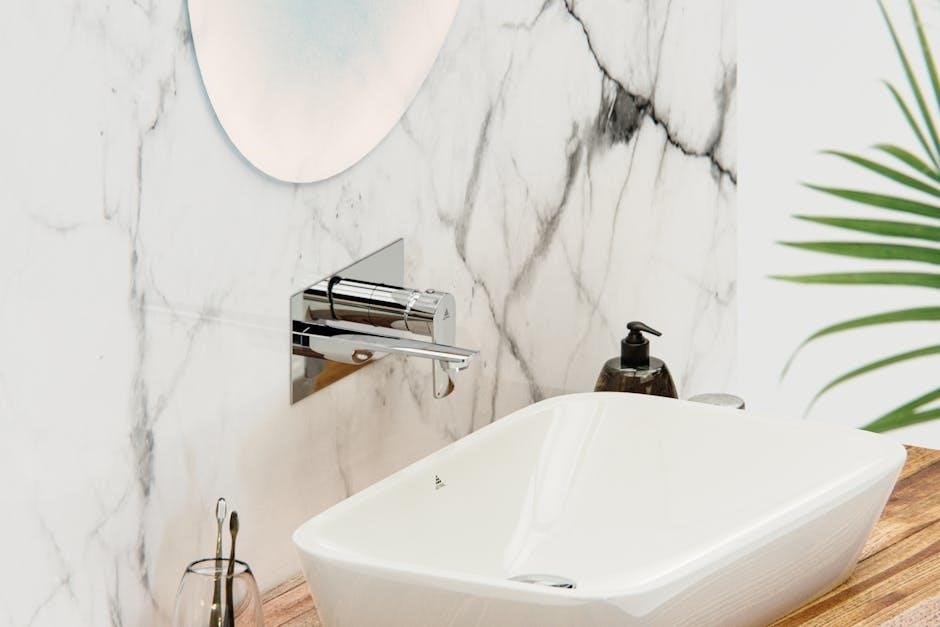
Hansgrohe offers a diverse range of bathroom faucets‚ each with unique characteristics impacting repair procedures. Common types include single-handle faucets‚ utilizing a cartridge for temperature and flow control‚ and two-handle faucets‚ often employing ceramic disc valves;
Focusing on the cartridge system‚ prevalent in many modern Hansgrohe models‚ understanding its function is crucial. These cartridges regulate water mixing and flow‚ and are frequent culprits in leak or temperature control issues.
Spout designs vary – fixed‚ swivel‚ or pull-down – influencing disassembly steps. Knowing whether your faucet features a ceramic disc valve or a cartridge will dictate the specific tools and techniques needed for successful repair. Identifying your faucet type before starting is paramount for a smooth and effective process‚ ensuring you address the correct components.
Identifying Common Hansgrohe Faucet Problems
Several issues commonly plague Hansgrohe bathroom faucets‚ requiring homeowner intervention. Persistent dripping from the spout‚ even when turned off‚ often indicates a worn-out cartridge or valve seat. Reduced water pressure can stem from a clogged aerator‚ flow restrictor‚ or supply lines.
Handle stiffness or difficulty in temperature adjustment frequently points to a failing cartridge needing replacement. Leaks around the base of the faucet may signify worn O-rings or loose connections;
Spray head malfunctions‚ if applicable‚ could be due to mineral buildup or a damaged spray mechanism. Accurately diagnosing the problem before attempting repair is vital; observing the nature of the leak‚ the water flow‚ and handle operation will guide you towards the appropriate solution and prevent unnecessary disassembly.
Tools Required for Hansgrohe Faucet Repair
Successfully repairing your Hansgrohe faucet demands specific tools. A basin wrench is crucial for accessing and loosening hard-to-reach nuts under the sink. Adjustable wrenches of varying sizes are essential for disconnecting supply lines and faucet components. A Phillips and flathead screwdriver set will handle most screw types encountered during disassembly.
Pliers‚ including needle-nose pliers‚ aid in gripping and manipulating small parts. An Allen wrench set is often needed for handle removal. Penetrating oil helps loosen corroded connections. Don’t forget O-ring picks for removing old seals and a cartridge puller (specific to Hansgrohe) for stubborn cartridge removal.
A clean cloth protects finishes‚ and a small container keeps parts organized. Finally‚ plumber’s grease ensures smooth reassembly and prevents future corrosion.
Safety Precautions Before Starting Repair
Prioritizing safety is paramount before commencing any Hansgrohe faucet repair. Always shut off the water supply to the faucet – locate the shut-off valves under the sink and turn them clockwise until fully closed. If these valves are faulty‚ shut off the main water supply to your home. Protect your eyes by wearing safety glasses to prevent debris from causing injury.
Place a towel or cloth in the sink basin to prevent scratching the porcelain and to catch any dropped parts. Avoid excessive force when loosening components‚ as this can damage the faucet body or pipes. Be mindful of hot surfaces if you’ve recently used hot water.
Disconnecting electrical components (if applicable‚ for some models) requires extra caution – ensure power is off at the breaker. Finally‚ work in a well-lit area to ensure clear visibility.
Disassembling Your Hansgrohe Bathroom Faucet
Carefully dismantle your Hansgrohe faucet‚ following a logical sequence: handles‚ cartridge‚ spout‚ and aerator‚ to access internal parts for effective repair or replacement.
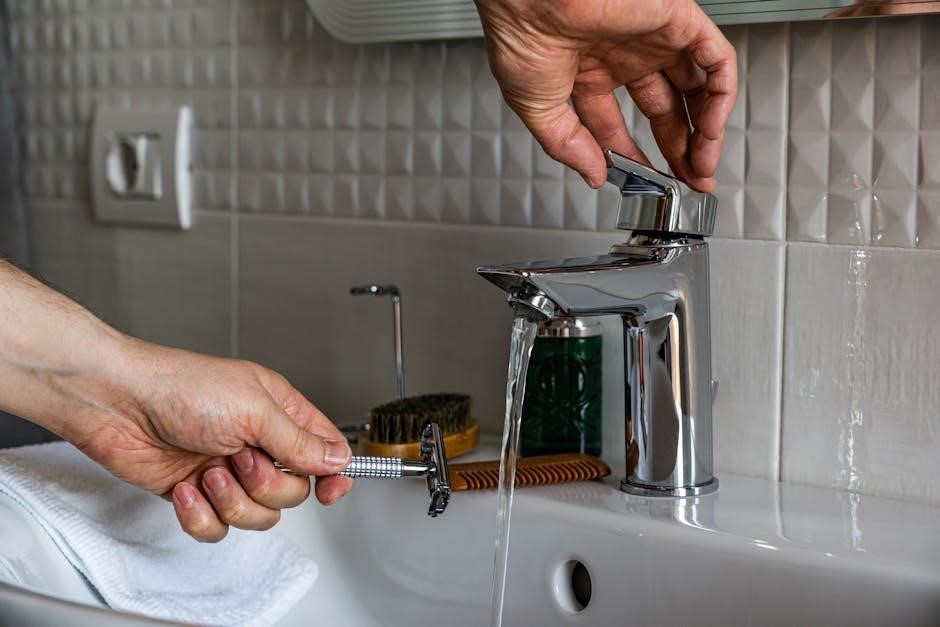
Removing the Handle(s)
Begin by identifying the handle type – single-lever or dual handles – as the removal process differs slightly. For single-lever handles‚ locate the small set screw‚ often concealed beneath a decorative cap. Gently pry off the cap using a small‚ flathead screwdriver‚ being careful not to scratch the finish.
Loosen the set screw‚ typically with an Allen wrench (hex key)‚ and then carefully pull the handle straight up and off. Dual handles usually have similar set screws‚ one on each handle. Repeat the process for the second handle. If the handles are particularly stubborn‚ a gentle rocking motion combined with upward pressure can help dislodge them.
Avoid excessive force‚ as this could damage the handle or the faucet body. Once the handles are removed‚ you’ll have access to the valve cartridge‚ the next component to be disassembled for repair or replacement. Remember to protect the faucet’s finish during the entire process.
Removing the Cartridge
After handle removal‚ access the cartridge retaining clip‚ usually a U-shaped piece securing the cartridge within the faucet body. Use pliers or a small screwdriver to carefully remove this clip‚ noting its orientation for reinstallation. Some models may utilize a threaded retaining nut instead of a clip; loosen this nut with an appropriate wrench.
Once the clip or nut is removed‚ gently pull the cartridge straight up and out of the faucet body. It may require some firm‚ even pressure. If the cartridge is stuck‚ avoid twisting or forcing it‚ as this could cause breakage. A cartridge puller tool can be helpful in these situations‚ providing a secure grip and leverage.
Inspect the cartridge for any visible damage‚ such as cracks or worn-out O-rings. Before installing a new cartridge‚ clean the cartridge housing within the faucet body to remove any debris or mineral buildup. This ensures proper seating and functionality of the replacement cartridge.
Disassembling the Spout

Spout disassembly varies significantly by Hansgrohe model‚ but generally involves loosening a set screw located at the base or underside of the spout. This screw often requires an Allen wrench‚ so having a set on hand is crucial. Once loosened‚ the spout should lift or rotate to detach from the faucet body.
Some spouts may have a threaded connection requiring counter-clockwise rotation to unscrew. Be careful not to force the spout‚ as excessive pressure could damage the faucet body or the spout itself. Inspect for any O-rings or seals at the connection point and note their position for reassembly.
After removing the spout‚ you may find additional components like a swivel ball or internal hoses. Carefully disconnect these‚ paying attention to their orientation. Documenting the disassembly process with photos can be extremely helpful during reassembly‚ ensuring all parts are correctly positioned.
Removing the Aerator and Flow Restrictor
The aerator‚ located at the tip of the spout‚ is often the first component to address when dealing with reduced water flow. Most Hansgrohe aerators can be removed by hand‚ simply unscrewing counter-clockwise. However‚ some models may require an aerator key – a small plastic tool specifically designed for this purpose – to gain sufficient grip.
Once the aerator is removed‚ you’ll likely encounter a flow restrictor. This small plastic piece regulates water usage. It can usually be pulled out with pliers or a small screwdriver‚ though some are tightly fitted. Note the orientation of the flow restrictor before removal‚ as incorrect reinstallation can affect water pressure.
Inspect both the aerator and flow restrictor for mineral buildup or debris. Cleaning these components thoroughly with vinegar or a descaling solution can often restore optimal water flow. Replace worn or damaged parts for best results.
Repairing Common Hansgrohe Faucet Issues
This section details solutions for frequent problems‚ including leaky cartridges‚ low water pressure‚ dripping spouts‚ and stiff handles‚ ensuring your faucet functions optimally.
Replacing a Leaky Cartridge
A leaking Hansgrohe faucet often stems from a worn-out cartridge‚ requiring replacement for optimal performance. Begin by shutting off the water supply to the faucet – locate the shut-off valves under the sink and turn them clockwise until fully closed.
After disassembly (refer to previous sections for handle and spout removal)‚ carefully remove the retaining clip or nut securing the cartridge. Gently pull the old cartridge straight up and out of the faucet body.
Before installing the new cartridge‚ inspect the valve body for any debris or corrosion‚ cleaning it thoroughly if necessary. Lubricate the O-rings of the new cartridge with silicone grease. Align the new cartridge correctly – usually indicated by markings – and insert it firmly into the valve body. Reinstall the retaining clip or nut‚ ensuring it’s snug but not overtightened.
Finally‚ reassemble the faucet and test for leaks. A properly replaced cartridge should eliminate dripping and restore smooth operation.
Fixing Low Water Pressure
Reduced water flow from your Hansgrohe faucet can be frustrating‚ often caused by mineral buildup or a partially blocked aerator. Start by checking the aerator – unscrew it and inspect for sediment or limescale. Clean the aerator thoroughly with vinegar or a descaling solution‚ then rinse and reattach.
If the aerator isn’t the culprit‚ investigate the supply lines. Ensure the shut-off valves under the sink are fully open. Disconnect the supply lines and check for kinks or obstructions. Flush the lines to remove any debris.
Consider the cartridge as a potential source; a worn cartridge can restrict water flow. If the issue persists‚ examine the faucet’s internal passages for mineral deposits. Carefully clean these passages with a small brush and vinegar.
If low pressure affects other fixtures‚ the problem may lie with your home’s main water supply‚ requiring professional attention.
Repairing a Dripping Spout
A persistent drip from your Hansgrohe bathroom faucet spout usually indicates a worn-out cartridge‚ the component controlling water flow. Begin by shutting off the water supply to the faucet. Disassemble the faucet to access the cartridge‚ noting the orientation for reassembly.
Inspect the cartridge for cracks‚ wear‚ or mineral buildup. Even slight damage can cause dripping. Replace the cartridge with a new one specifically designed for your Hansgrohe model. Ensure a secure fit during installation.
If a new cartridge doesn’t resolve the issue‚ examine the valve seats and O-rings within the faucet body. These can become damaged or worn‚ leading to leaks. Replace any damaged components.
After reassembly‚ slowly turn the water supply back on and check for leaks. If dripping continues‚ double-check the cartridge installation and valve seat condition.
Addressing Handle Stiffness
Stiff or difficult-to-turn handles on your Hansgrohe bathroom faucet often stem from mineral buildup or worn-out internal components. Begin by identifying if the stiffness affects both hot and cold water handles‚ or just one. This helps pinpoint the source of the problem.
Shut off the water supply before disassembly. Remove the handle(s) and inspect the cartridge and surrounding O-rings. Mineral deposits can accumulate‚ causing friction. Clean these parts thoroughly with a descaling solution or white vinegar.
If cleaning doesn’t resolve the issue‚ the cartridge itself may be failing and require replacement. Lubricate the O-rings with silicone grease during reassembly to ensure smooth operation. Avoid petroleum-based lubricants‚ as they can damage the rubber.
After reassembly‚ test the handle movement. If stiffness persists‚ further inspection of the valve body may be necessary.

Reassembling Your Hansgrohe Bathroom Faucet
Carefully reverse the disassembly process‚ ensuring all components are correctly aligned and securely fastened. Thoroughly test for leaks and proper functionality afterward.

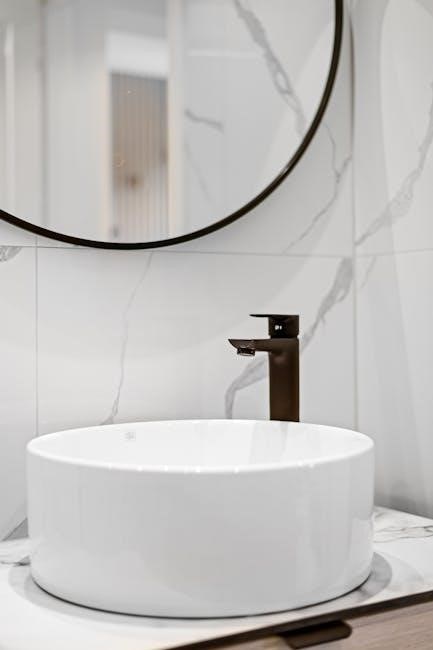
Reinstalling the Spout
Begin by carefully aligning the spout with the faucet body‚ ensuring any O-rings or seals are properly seated to prevent future leaks. Gently push the spout into place; avoid forcing it‚ as this could damage the connections.
Secure the spout using the appropriate mounting hardware – typically a set screw or retaining nut – as specified in your faucet’s model documentation. Tighten the hardware gradually and evenly‚ checking for proper alignment throughout the process. Over-tightening can strip threads or crack the faucet body.
Once secured‚ test the spout’s range of motion‚ verifying it swivels smoothly and without obstruction. Inspect the base of the spout for any gaps or misalignments that could indicate a poor seal. If necessary‚ loosen the mounting hardware and readjust the spout before re-tightening. A properly installed spout is crucial for both functionality and preventing water damage.
Reinstalling the Cartridge
Before reinstalling the cartridge‚ carefully inspect the valve body for any debris or corrosion that could impede its function. Clean the housing thoroughly with a soft cloth and mild cleaning solution. Apply a thin coat of silicone grease to the O-rings of the new cartridge to ensure a smooth seal and prevent future sticking.
Align the cartridge with the valve body‚ paying close attention to any specific orientation markings. Gently insert the cartridge straight down‚ avoiding any twisting or angling. Ensure it seats fully and evenly within the housing.
Secure the cartridge using the retaining clip or nut‚ tightening it to the manufacturer’s specified torque. Do not over-tighten‚ as this can damage the cartridge or valve body. Once secured‚ test the cartridge’s operation by turning the faucet handle‚ verifying smooth and consistent water flow control.
Reattaching the Handle(s)
Before reattaching the handle(s)‚ inspect the handle mounting screws and ensure they are clean and free of corrosion. If necessary‚ replace any damaged or worn screws. Carefully align the handle(s) with the faucet body‚ ensuring proper orientation – hot and cold sides must be correctly positioned.
Gently push the handle(s) onto the cartridge stem‚ ensuring a secure fit. Tighten the mounting screws gradually and evenly‚ avoiding over-tightening which could strip the threads or damage the handle. Check for smooth handle movement throughout the full range of motion.
Verify proper operation by turning the handles on and off‚ confirming that the water flow starts and stops smoothly. If the handles feel stiff or loose‚ adjust the mounting screws accordingly. A properly reattached handle should feel secure and responsive.
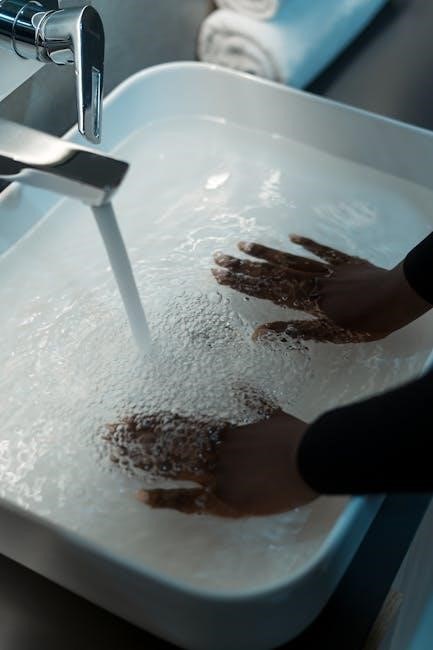
Testing for Leaks and Proper Functionality
After reassembly‚ thoroughly test the faucet for leaks. Turn on the water supply slowly and carefully inspect all connections – around the base of the faucet‚ the spout‚ and the handle(s). Use a dry cloth to wipe around each area‚ looking for any signs of moisture.
Check both hot and cold water flow‚ ensuring adequate pressure and consistent temperature. Operate the handles through their full range of motion‚ observing for smooth operation and any unusual noises. Verify the aerator is functioning correctly‚ providing a consistent and non-splashing stream;
If leaks are detected‚ immediately shut off the water supply and re-examine the connections. Tighten fittings as needed‚ or disassemble and inspect for damaged components; A successful repair results in a leak-free faucet with smooth‚ reliable functionality.